An effective oil spill kit is essential for managing spills and preventing environmental damage. Key components...
Phone: 1300 623 749 | Servicing Australia Wide | ![]()
![]()
![]()
Phone: 1300 623 749 | Servicing Australia Wide | ![]()
![]()
![]()

Proud Partners of Team 18
Latest posts
-
 What to Look for in an Oil Spill Kit: Expert Tips and RecommendationsRead more
 -
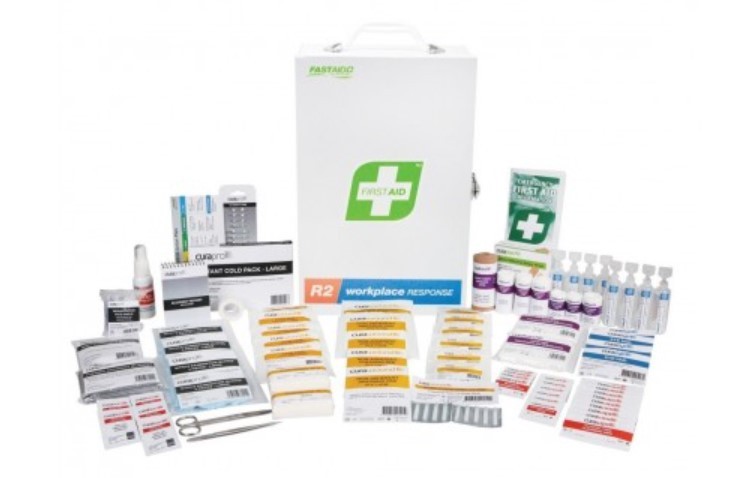
 The Importance of Safety Signs, Safety Gloves and Workplace First Aid KitRead more
Prioritizing workplace safety is essential for Australian businesses to protect employees, reduce accidents, and...
-
 Enhancing Safety with Convex Mirrors: A Guide for Your WorkplaceRead more
In busy workplaces, maintaining safety and visibility is crucial to prevent accidents and ensure smooth operations....
-
 How to Choose the Right Spill Kit: A Comprehensive Guide for Workplace SafetyRead more
Whether you run a small workshop or a big industrial plant, you really should be ready for unintentional spills. But...
-
 Understanding the Code of Practice for Floor BundsRead more
Floor bunds are essential containment structures designed to prevent the spread of liquids in industrial and...
-
 Determining the Number of Spill Kits Needed on Your WorksiteRead more
Spills happen unexpectedly and can pose significant risks to both personnel and the environment. Having the...
-
 Determining the Number of First Aid Kits Needed On-SiteRead more
First aid kits are crucial for workplace safety, providing essential medical supplies to respond promptly to injuries...
-
 Stock Your First Aid Kit: Essential Tips from Super Spills SolutionsRead more
A well-stocked first aid kit is crucial for handling minor injuries and medical emergencies. Having the right...
-
 Do I Need a Consultation for On-Site Spill Control and Safety Requirements?Read more
Navigating compliance requirements and meeting specific needs in spill management can be complex, especially when...
-
 Which Spill Kits are Suitable for Oil and Fuel Spills?Read more
When facing oil and fuel spills, having the right spill kit at your disposal is paramount. At Super Spill Solutions,...
Blog categories
Search in blog

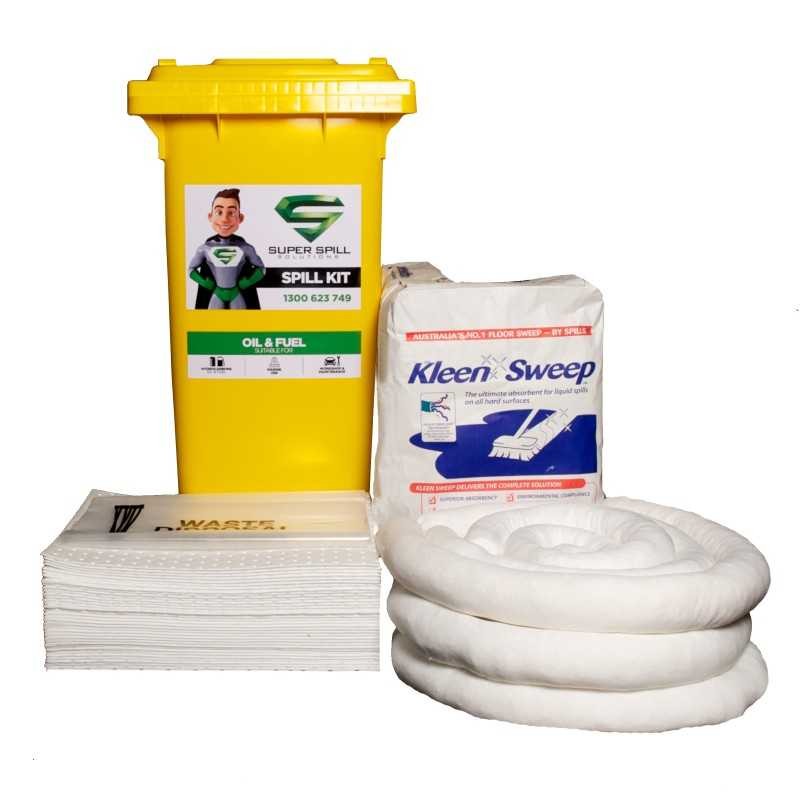
Step-by-Step Guide to Using an Oil Spill Kit
Oil spills can have devastating consequences for the environment, wildlife, and human health. That's why having a well-prepared response plan, including an oil spill kit, is crucial. In this guide, we'll walk you through the step-by-step process of effectively using an oil spill kit to minimise the impact of an oil spill and ensure a swift and efficient cleanup.
Step 1: Assess the Situation
The first step in responding to an oil spill is to assess the situation. Determine the type and quantity of the spilled substance, the location of the spill, and potential risks to the environment and personnel. This information will help you select the appropriate oil spill kit for the job.
Step 2: Don Personal Protective Equipment (PPE)
Before approaching the spill, ensure you're wearing the necessary personal protective equipment (PPE) to safeguard yourself from potential hazards. This usually includes gloves, safety goggles, and protective clothing. Safety should always be the top priority.
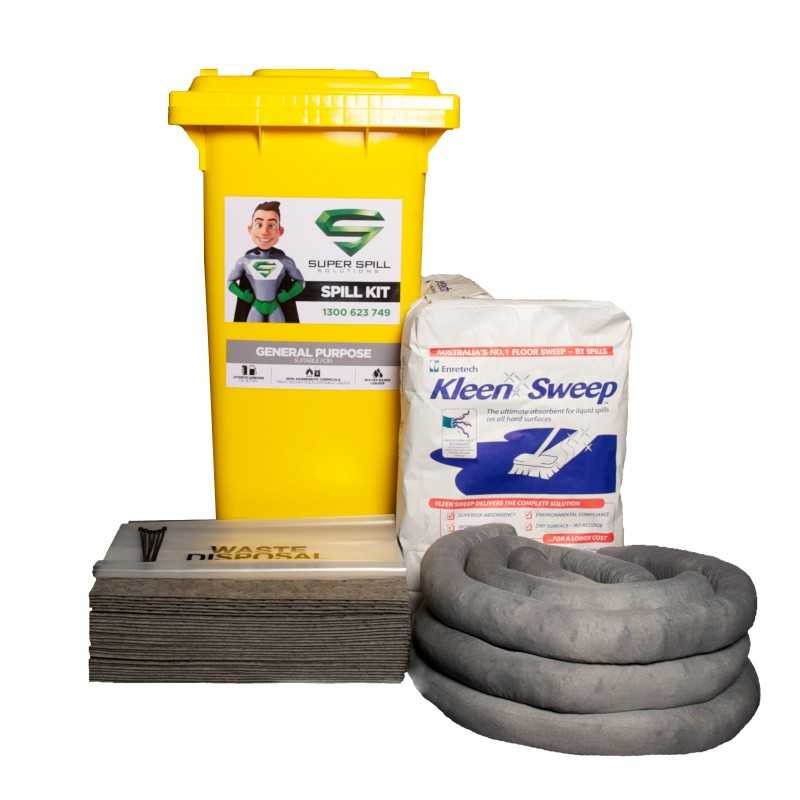
Step 3: Assemble and Deploy the Oil Spill Kit
Most oil spill kits are designed to be user-friendly and contain everything you need for cleanup. Open the kit and lay out its contents. This typically includes absorbent materials like pads, booms, and socks, as well as disposal bags and tools for proper cleanup. Deploy the absorbent materials around the spill to prevent it from spreading further.
Step 4: Contain and Absorb the Spill
Start by placing absorbent socks or booms along the perimeter of the spill to contain it and prevent it from spreading. Then, use absorbent pads to soak up the spilled oil. Gently press down on the pads to maximise absorption. Carefully work your way from the outer edges of the spill towards the center.
Step 5: Properly Dispose of Absorbent Materials
Once the spilled oil has been absorbed, carefully gather the used absorbent materials and place them in the provided disposal bags. Seal the bags securely to prevent leakage. Follow your local regulations and guidelines for the proper disposal of oil-soaked materials.
Step 6: Clean and Decontaminate
After the majority of the spill has been cleaned up, it's essential to clean and decontaminate the affected area. Use appropriate cleaning agents to remove any remaining residue. Ensure that the area is safe for humans and wildlife before declaring the cleanup complete.
Step 7: Document the Cleanup
Maintain accurate records of the spill response activities, including the details of the spill, the cleanup process, and the materials used. This documentation may be required for legal and regulatory purposes.
Step 8: Replenish the Oil Spill Kit
After using the oil spill kit, it's crucial to replenish its contents to ensure it's ready for the next emergency. Replace used absorbent materials, disposal bags, and any other items that were utilised.
Conclusion
Responding to an oil spill requires a systematic and well-executed approach. By following this step-by-step guide to using an oil spill kit, you can effectively mitigate the impact of spills and contribute to the preservation of the environment. Remember, regular training and familiarisation with the kit are essential to ensure a swift and efficient response when the need arises. An oil spill kit is a valuable tool that, when used correctly, can make a significant difference in the outcome of an unfortunate event.
Related posts
-
 How Often Should Workplace First Aid Kits Be Checked or Restocked in Australia?How often workplace first aid kits should be checked or restocked in accordance with Australian regulations and...Read more
 -
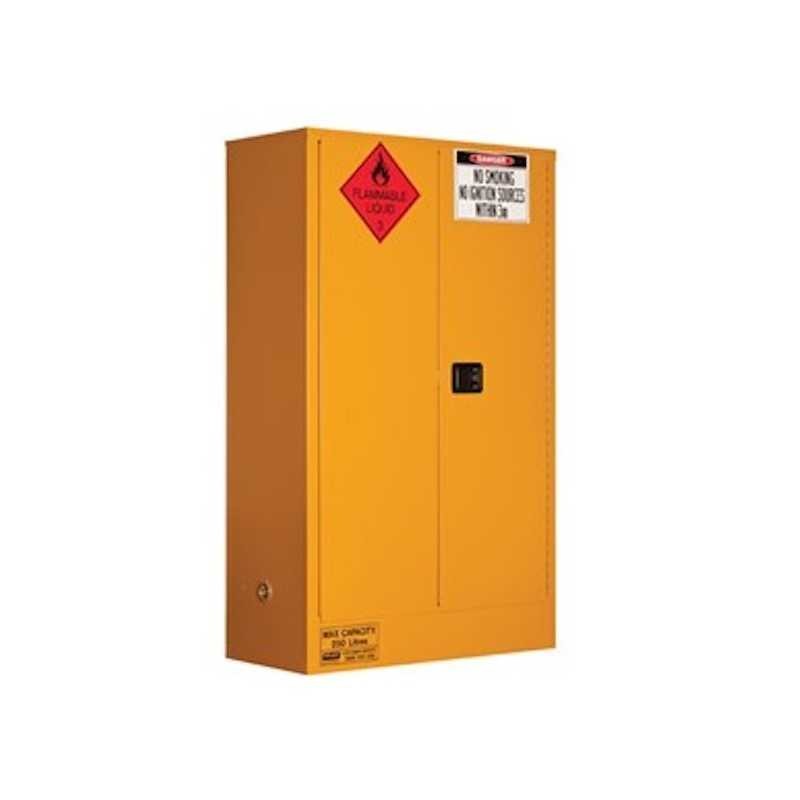 What are The Australian regulations for storing dangerous goods?Australian regulations for storing dangerous goods have been put in place to ensure public safety because, handling...Read more
 -
 Are spill stations necessary for workplace safety?Lets explores the necessity of spill stations for maintaining workplace safety and the crucial role they play in...Read more
 -
 The Importance of Spill Kit Training for Staff in CompaniesLet's explore why spill kit training is important and the benefits it brings to both employees and the company as a...Read more
 -
 Everything You Need to Know About Spill Kit Contents: A Complete GuideA spill kit is a collection of materials used to clean up spills in industrial settings. It helps prevent harm to...Read more
Leave a comment